Written / Photographs by: Tony Carricaburu
INSTALLATION:
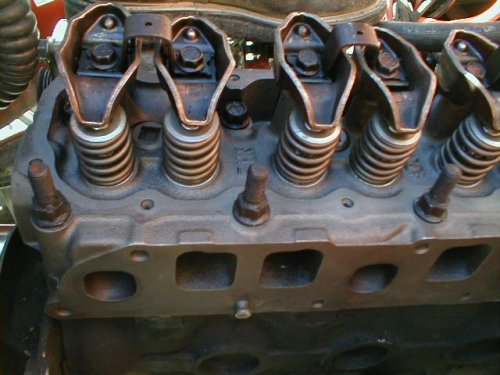
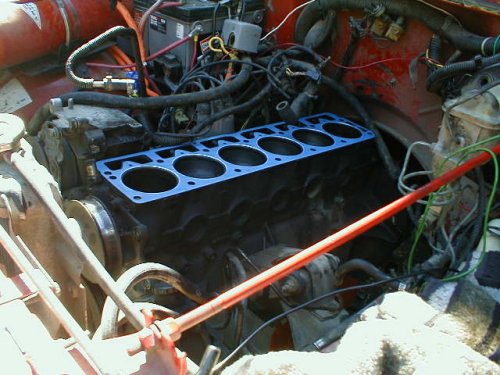
PART 2:After preparation of the head is complete your ready for the installation of the new 4.0L head. I suggest having a friend help place the new head on top of the 4.2L block. The head alone weighs 77lbs. and when you trying to line up the head on the block while also trying to align the head gasket all at the same time it would be very difficult as a one-man job. I started by placing the new Head Gasket on the 4.2L block, Then with the help of my friend Nate; we lowered the Head down onto the block. It was surprising how well the head lines up, It appeared to fit as perfect as the 4.2L Head.
(Click on images for large view)


INSTALLATION:
PART 3:After placing the head onto the 4.2L block its time to mount the head down. It's recommended that you use new Head-Bolts because of accuracy but the old head bolts will still work. For my application I used the old head bolts. New set of Cylinder Head Bolts are $17.00 from Mopar Performance. (Part #: 4529204) I was unable to find new head bolts in time for the installation. It's very important that you torque the head bolts down in order and to the right torque spec. I created a little Diagram below to view. A similar diagram can be obtained in a Haynes or Chilton's Repair manual. The first round you want to torque the Head bolts down to 22lbs. of pressure. (I recommend using a quality torque wrench for better accuracy). On the second round tightening the head bolts torque them to 45 lbs. of pressure. The last round tighten all the head bolts to 110 lbs. of pressure except head bolt #11, you must torque this bolt to 100 lbs. of pressure. NOTE: Before installing the Number# 11 Head Bolt put some Loctite 592 sealant on the bolt. All these torque ratios aren't custom or created for this installation, these are basic head bolt tightening spec.'s, these torque spec.'s can be obtained in your Jeep repair manual as well. Click on Diagram 1.1 for printable size.
(Click on images for large view)
Diagram 1.1 Torque Sequence

INSTALLATION:
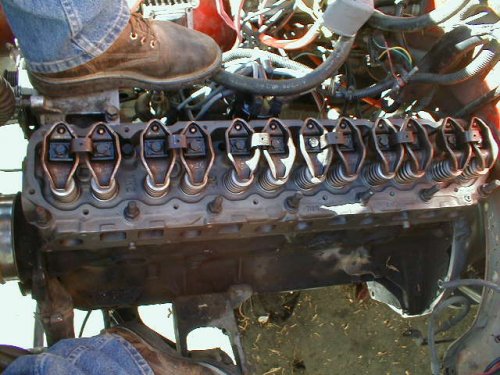
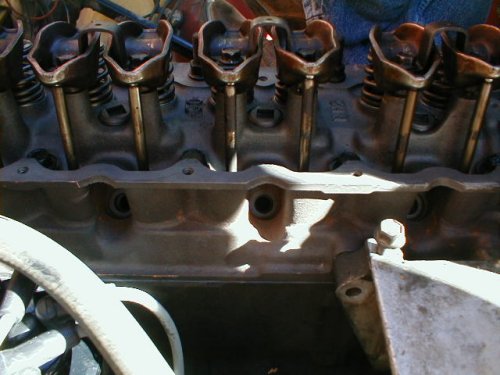
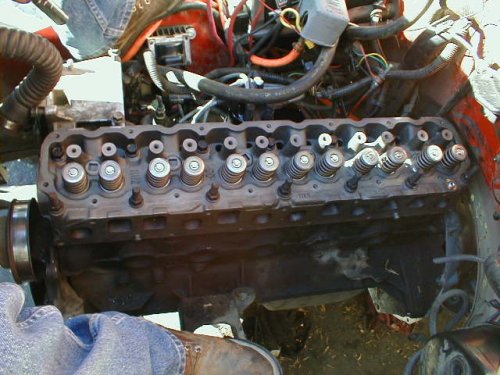
PART 4:Next thing to do is install all the rods and rockers. When doing so, you will want to set the engine at TDC (Top Dead Center) that means the number one piston must be at the top of the cylinder. To obtain this you must move the harmonic damper until the mark is directly pointed at the 0 position on the timing settings. After the motor is verified to be at TDC go ahead and place the rods into position as you took them out. After placing all the rods back into position place, mount the rockers back on as you took them off. When bolting the rockers down it is very important that you don't under or over tighten them. The dealership recommended torque spec.'s say to torque them to 19 lbs.
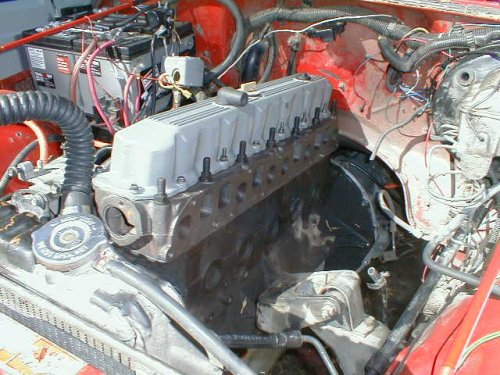
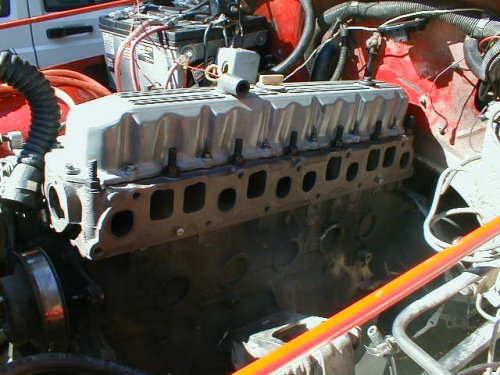
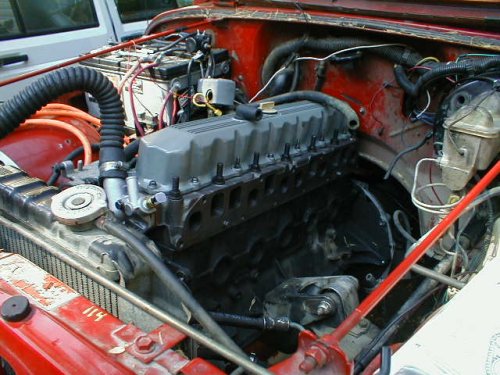
  Now that the head is in position and mounted you can go ahead and place the valve cover on. Be sure to use a new cork valve cover gasket. I'm not sure of the torque spec.'s for the valve cover but if my memory serves me right I believe it was around 9 lbs. Check you Haynes or Chilton repair manual for exact spec.'s. Below are some pictures of my Jeep with its new 4.0L head and valve cover mounted in position.
(Click on images for large view)